On this page
Create a Group Node
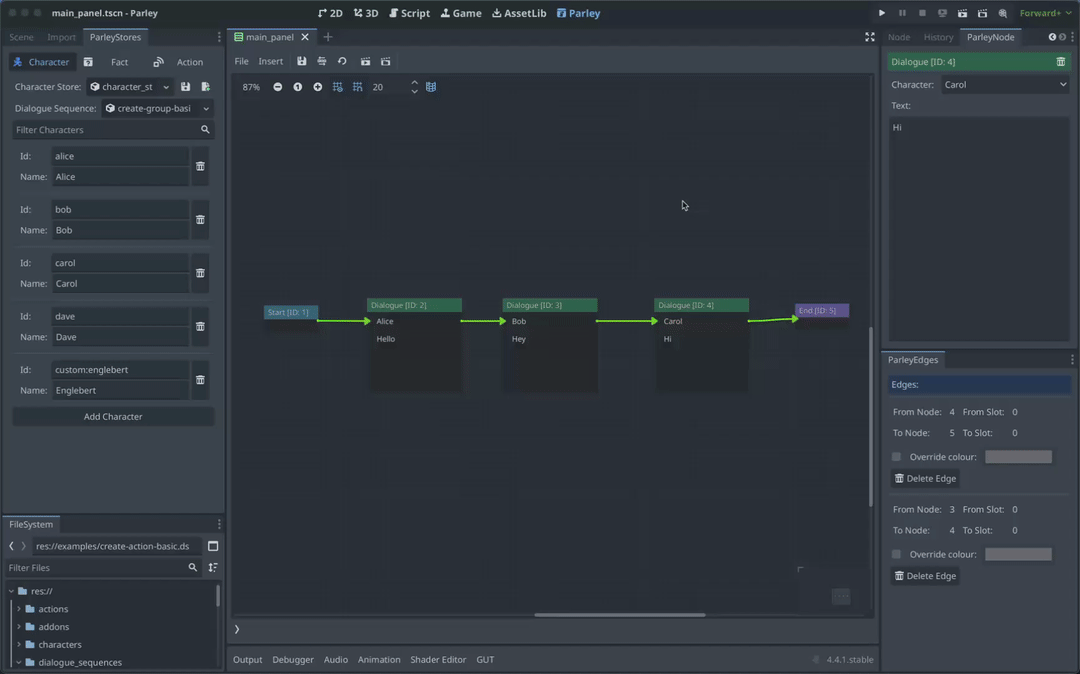
As its name suggests, a Group Node gives the ability to group Nodes that fall
within its boundary in the Parley Dialogue Sequence graph view. You can find all
sorts of Dialogue Sequence examples in the Parley
examples
folder.
Prerequisites
- Ensure you have familiarised yourself with the Group Node docs.
- Parley is installed and running in your Godot Editor.
- You have created a basic Dialogue Sequence before. Consult the Getting Started guide for more info.
Instructions
- Create a Group Node using the
Insertdropdown and resize the created Node accordingly using the resize button in the bottom right of the Node. - Click on the created Group Node in the graph view to open up the Group Node Editor.
- Enter a name for what the Group Node represents. Try and keep it as
descriptive as possible! In this example, we write:
My lovely group - Choose the colour you want for the Group Node using the colour picker until you get the colour that works for you.
TipAny Node that overlaps with the Group Node will be considered part of the Group Node group.
- Move the Group Node around and note the Nodes inside group boundaries moving with the Group Node.
- Have a play around by adjusting the size of the Group Node or moving Nodes in and out of the Group Node boundaries to group and ungroup as you see fit!