Register an Action
Actions are resources in Parley used to run defined functionality during the running of a Dialogue Sequence. For example, an Action could contain functionality to: emit a signal, register a journal entry, or update state.
Actions are stored in an Action Store which can be configured in the Parley settings.
In this guide, we will create an action that can be used to create an Action Node in the corresponding create an Action Node guide.
Prerequisites
- Ensure you have familiarised yourself with the Action Node docs.
- Parley is installed and running in your Godot Editor.
- You have created a basic Dialogue Sequence before. Consult the Getting Started guide for more info.
Instructions
InfoIt is assumed that the default Parley settings are used for the Action Store and it is stored at:
res://actions/action_store_main.tres. You can find more information on changing the default Parley settings here.
- Create an Action script (ensure that it extends the
ParleyActionInterfaceclass) at:res://actions/advance_time_action.gd
extends ParleyActionInterface

func run(_ctx: ParleyContext, values: Array) -> int:
	print("Advancing time by %s" % [values[0]])
return OK- Open up the
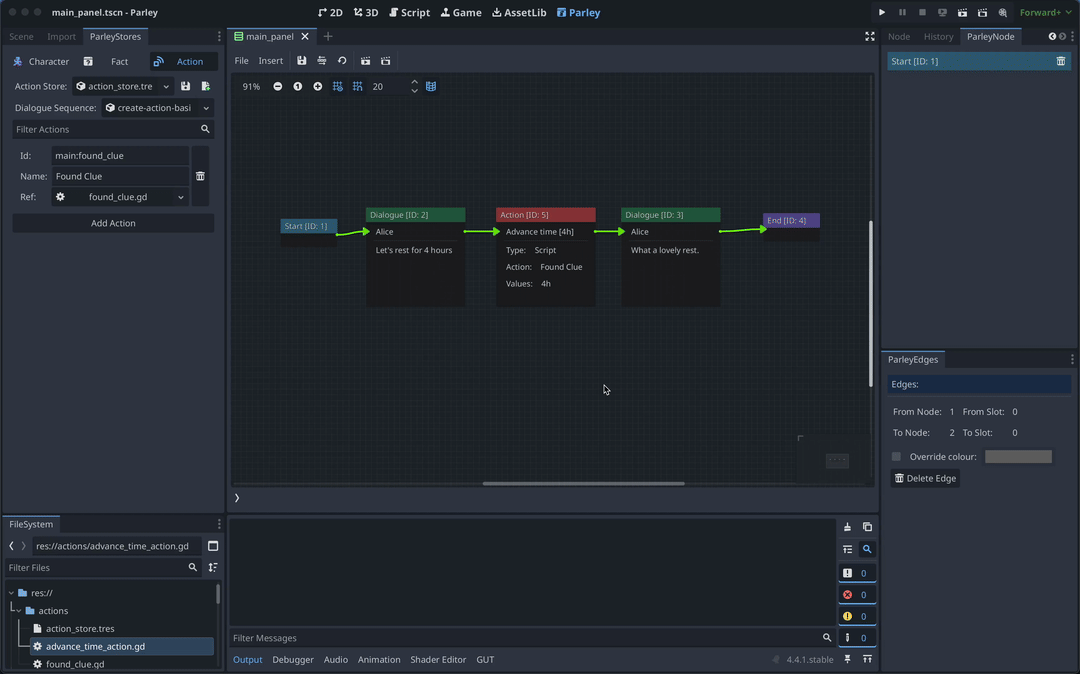
ParleyStoresdock in the Godot Editor and open theActiontab. - Click
Add Action. - Give your new action an ID. In our example, we use:
main:advance_time. - Give your new action a name. In our example, we use:
Advance Time. - Link your created action script with the Action using the resource inspector
(labelled
Ref).
TipYou can use the resource Editors in
ParleyStoresto quickly navigate to the relevant resource for editing. You can also add resources using the resource Editor dropdown field instead of dragging.
- You should now see that the Action is available in the Action dropdown
options in the Action Node Editor. Select
Advance Timein the options to associate it with the selected Action Node. - Test out your new Action within the Dialogue Sequence by clicking the Test Dialogue Sequence From Start Button.