On this page
Create an Action Node
An Action Node gives the ability to run functionality during the processing of a
Dialogue Sequence. For example, emitting a signal, registering a journal entry,
or updating state. You can find all sorts of Dialogue Sequence examples in the
Parley
examples
folder.
Prerequisites
- Ensure you have familiarised yourself with the Action Node docs.
- Parley is installed and running in your Godot Editor.
- You have followed the instructions to add the relevant actions to the system.
- You have created a basic Dialogue Sequence before. Consult the Getting Started guide for more info.
Instructions
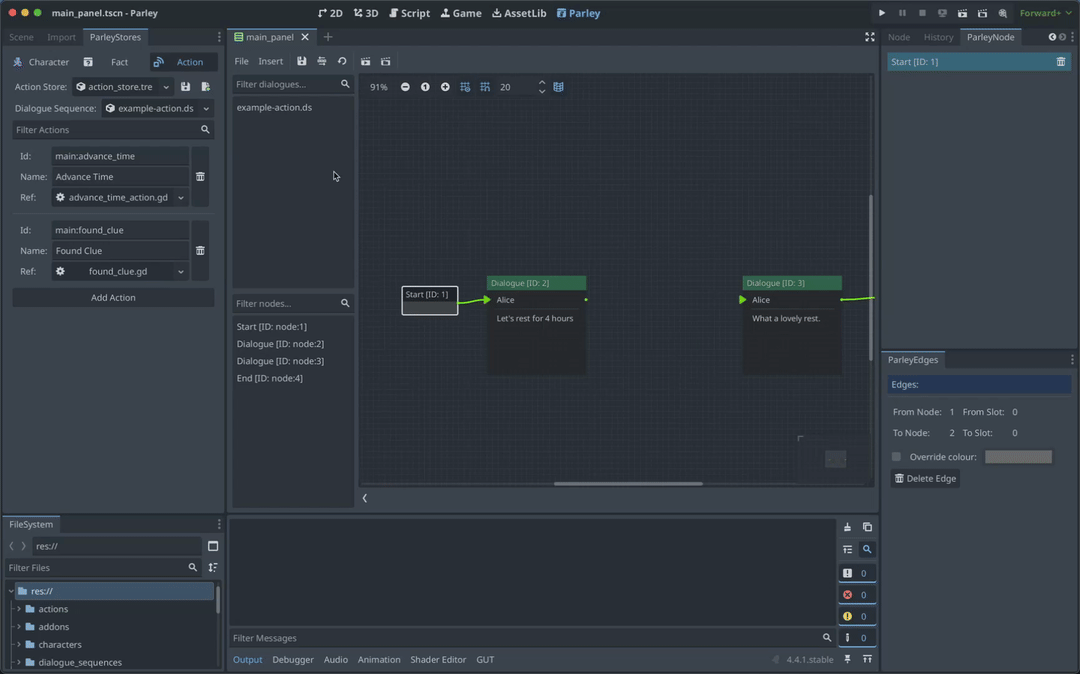
- Create an Action Node using the
Insertdropdown. - Click on the created Action Node in the graph view to open up the Action Node Editor.
- Enter a high-level descriptive name for what the Action Node represents. This
is because it can be sometimes hard to work out what actions are doing so the
more info you can provide up front the better! In this example, we write:
Advance time [4h] - Choose the type of Action you want from the dropdown. In this example, we
choose:
Script. - Select the Action you want run as part of this Node. In this example, we
choose:
Advance Time.
TipYou can click on the pencil icon to the right of the Action to view the selected script in the Godot GDScript Editor and optionally edit it.
- Choose a value to pass to the Action Node. This must be a value understood by
the underlying script (chosen in the previous step). In this example, we set
to:
4h. - Click the
Savebutton in the Parley Editor and there we have it! Our first Dialogue Sequence with an Action Node. - Now connect this Node up with other Nodes to continue the Dialogue Sequence with your awesome game writing!
- You can test out your Dialogue Sequence by clicking the Test Dialogue Sequence From Start Button.